Happy New Year!
A new year and presents to bake stuff with! Our oven broke just before Christmas, so we were treated with a new one. Unfortunately, I didn’t get the opportunity to use it right away. However, all is well with the world now! It’s amazing how a new oven makes all the difference with cooking times and how things turn out. I think this has been a problem for a looooong time.
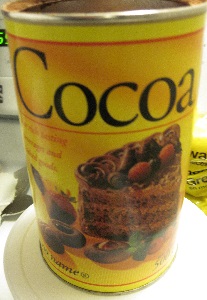
I had an old Better Homes and Gardens Christmas Cookies Special Edition magazine lying around from December 2009 which had a Chocolate Walnut Whoopie Pie recipe in it (page 90, if you happen to have one) and thought I’d try making them using all my new toys.
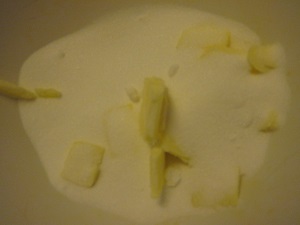
First, preheat the oven to 350 degrees Fahrenheit. In a large bowl (I used the bowl from my new Kitchen-Aid mixer – SO excited!), beat 1/2 cup of shortening on high for 30 seconds.

My new mixer – A Kitchen-Aid (smaller one, but it’s great for me):
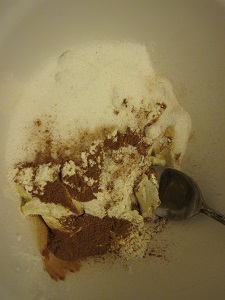
Next, add 1 cup sugar, 1 teaspoon baking soda and 1/8 teaspoon salt. I measured out the baking soda and salt using my new fancy measuring spoons:

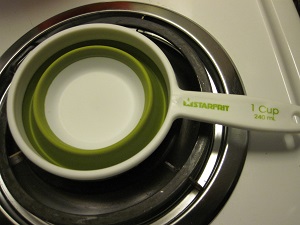
And the salt I measured using my new measuring cups
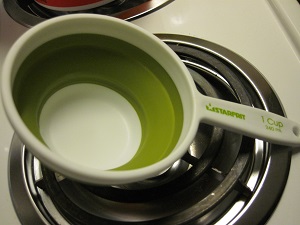
They collapse, so they take up a lot less space
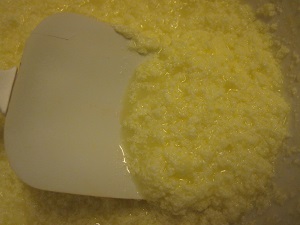
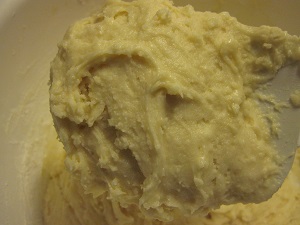
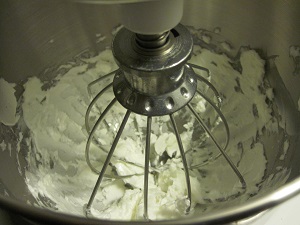
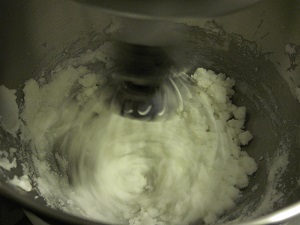
Mix in the mixer until combined, making sure to scrape down the sides every now and again. Look at it go!
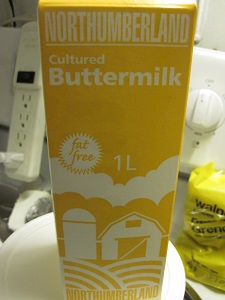
Next, toss in 1 and 1/4 cups buttermilk, 1 egg and 1 teaspoon vanilla extract, and mix that in.
Here’s a little tip. If you don’t have buttermilk, you can use sour milk… No, not that kind! Just take 1 tablespoon of lemon juice OR vinegar and put it into a measuring cup. Pour regular milk (I use 2%) into it until you reach the 1 cup mark. Just let it sit for 5-10 minutes and use that as buttermilk in your recipe. Using 1% or skim milk may yield a different result though.
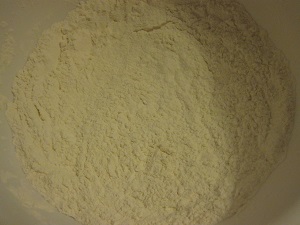
Leave your mixture and grab another bowl. Stir together 2 and 1/4 cups all purpose flour along with 2/3 cup unsweetened cocoa powder
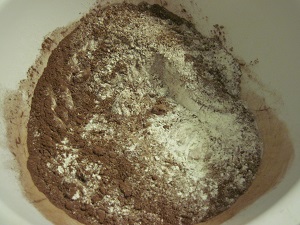
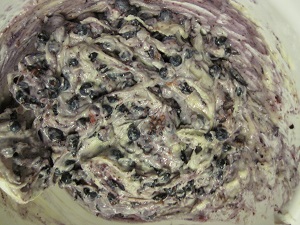
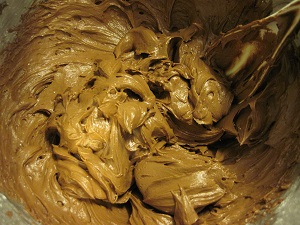
You take this dry mixture and pour a little at a time into the wet ingredients in the mixer. Keep mixing as long as you can, but if your mixer isn’t tough (mine was fine) you may have to finish mixing by hand.
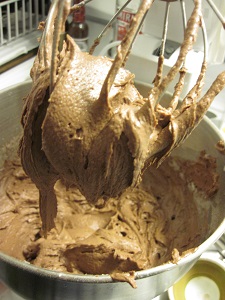
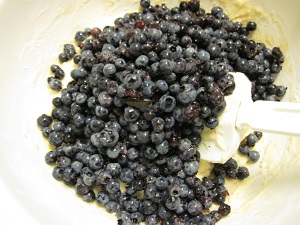
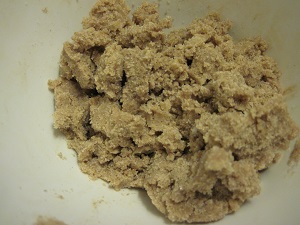
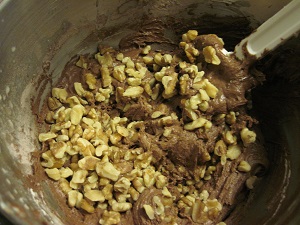
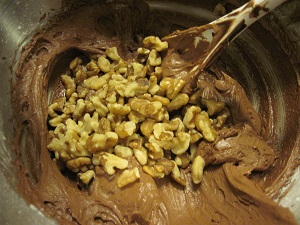
It’s starting to look like batter! Now just hand stir 1 cup of chopped walnuts into the mixture.

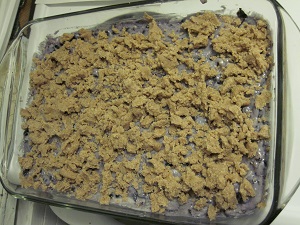
Spoon the dough from a rounded tablespoon onto an ungreased cookie sheet, then bake for 10 minutes or until the edges are firm. 10 minutes was the perfect amount of time for my oven. When you take them out, let them sit for 2 minutes on the cookie sheet, then take them off and put them on a wire rack to cool. If you take them off too early they will squish, too late and they will stick.
When measuring out my cookies I used a cookie scoop from Bed, Bath and Beyond (though Amazon sells them too). Squeeze the handles and a metal piece goes across and pops out the dough. It was awesome, since this dough is super thick and sticky. Plus it keeps all the cookies about the same size, which is important for this application.


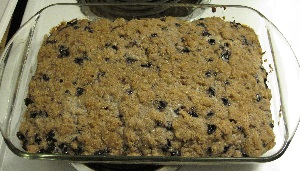
They puff up when cooked, but settle down a bit when cooled.

Make sure these are completely cooled before trying to put the filling in!
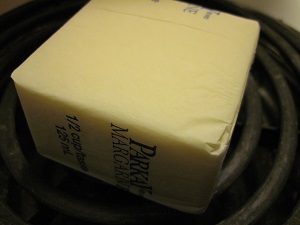
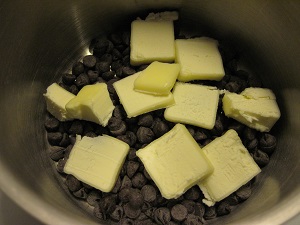
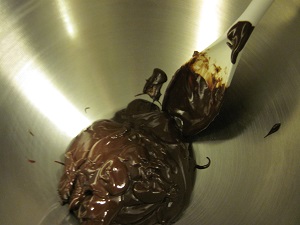
For the filling, put 1 cup semi-sweet chocolate pieces (I used chocolate chips) and 1/4 cup butter into a saucepan. Cook on low heat until smooth and melted.
Once melted, pour it out into a bowl to cool for 5 minutes. Again, I used my mixer bowl (yes, after washing) because we need to mix again soon.
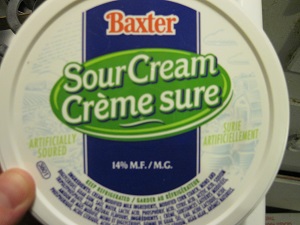
Stir in 1/2 cup of sour cream. I was skeptical at this point.
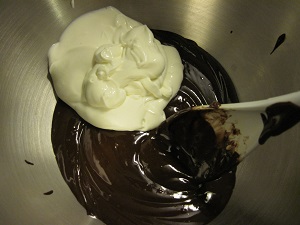
Use the mixer to combine this with 2 and 1/4 cups of icing sugar. Add it a little at a time, and mix until it’s all incorporated. I whipped mine.

Looking good! Almost done. Stir in 1/2 cup chopped walnuts, toasted if you prefer.
According to the recipe, you take 2 tablespoons of this filling and put it between 2 of the cookies. I found that to be too much, since my cookies were a little smaller. I just filled them until they looked good.
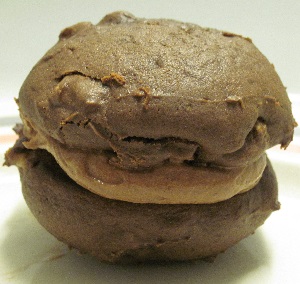
Don’t they look good?
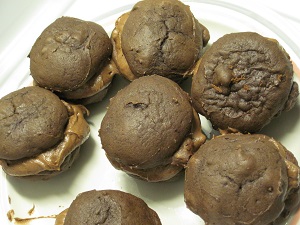
The recipe made over a dozen little whoopee pies (I prefer smaller ones anyway). They’re sweet, but the sour cream doesn’t make them so overpowering. I could do without the nuts, or maybe crushed into tiny pieces would be better. I’d definitely call this recipe a success, and I’d definitely make them again. It’s certainly time consuming though.
Anyway, keep these in the fridge or the “frosting” will melt.